Condition Sets
Configuring a Condition Set
Besides the fact that you want to know who is sending a request (Authentication), you may also want to restrict access based on what the request context contains (Authorization). This can be achieved by configuring conditions based on the known and proven information at request time.
Important
Security is checked taking into account the known and proven request context. Conditions cannot be configured on data send along with the request. This means that you'll not be able to configure conditions on:
- Form fields or data entered by the user in an ADM
- Context manager data
- Any other data send along with the request
You can however configure conditions based on:
- Request information (including the originating url, IP address, referer, user agent, ...)
- Case information
- Our security service detects if the request is coming from a case and will auto-include any case information including its properties
- Properties will be accessible using the prefix 'case.properties.' and/or 'originatingcase.properties.' where 'originatingcase' can be a dashboard representing a case itself
- E.g.: the case property 'Order Id' can be accessed in rules using 'case.properties.order id'
- Identity information contained in the token of the request (only works if the user is authenticated)
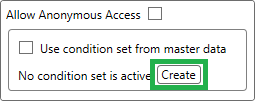
To start configuring a condition set, click on the create button in any Authorization Policy Control.

Note
By default, an empty or new condition set is disabled and will be ignored by the security service. Once you configured the whole set, you can enable it so the security service will start using it.
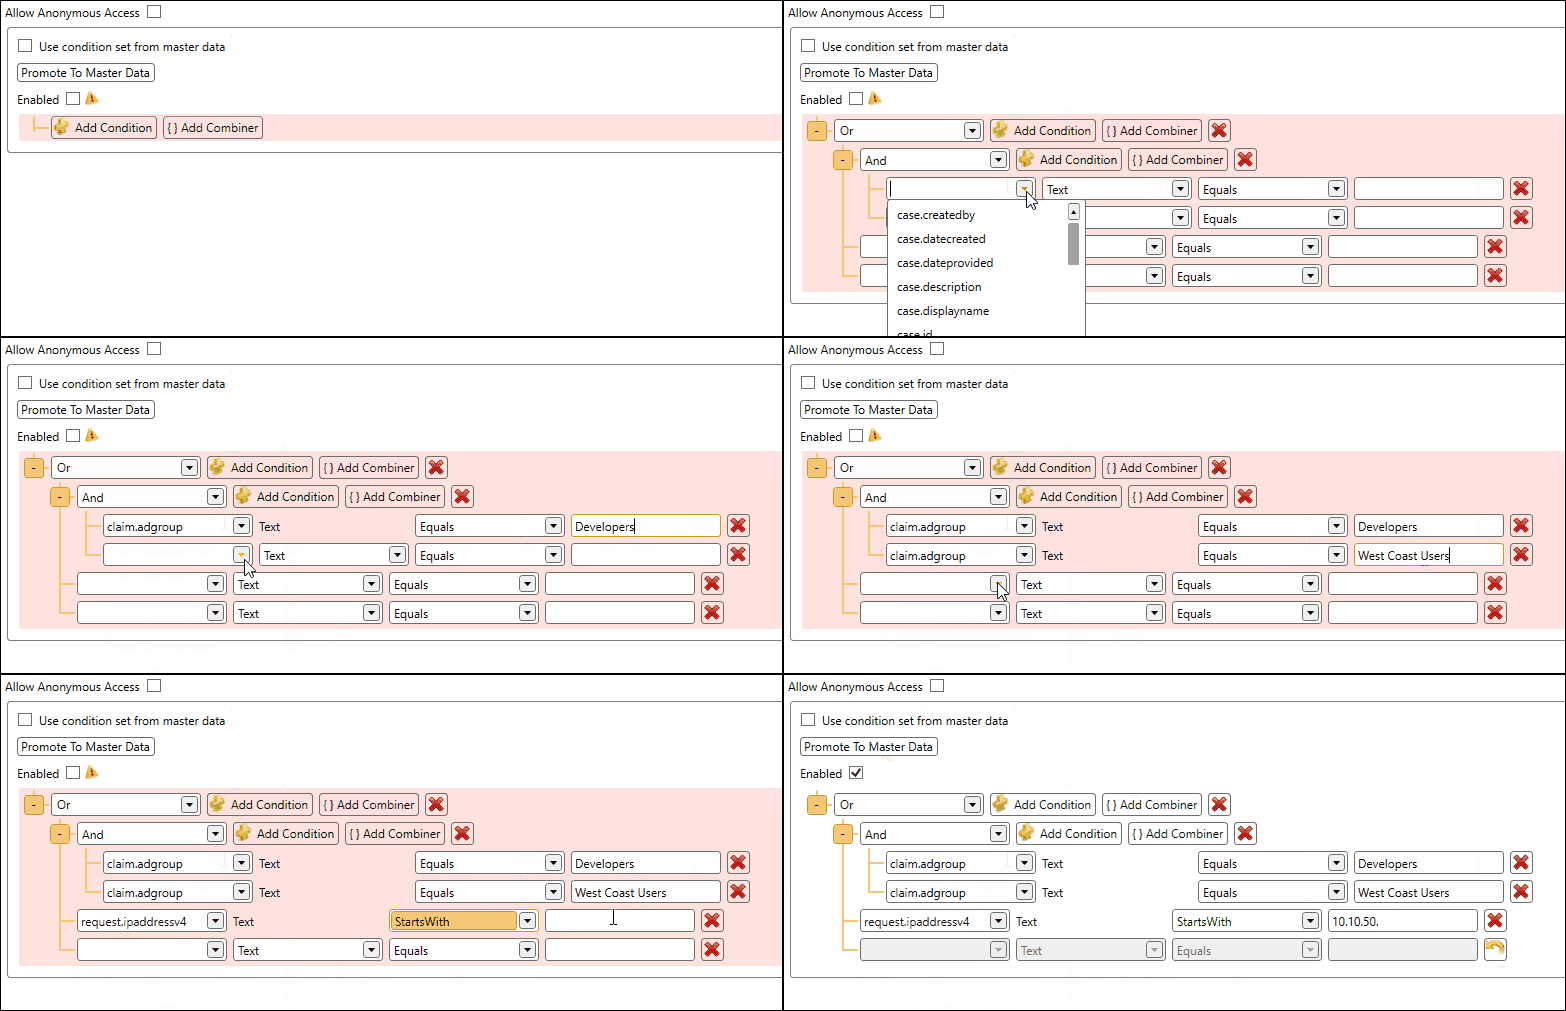
Configure the condition set by adding one or more conditions and/or combiners. In the example below we configure a condition set which must comply to the following:
- The user must be a member of the AD group Developers AND the AD group West Coast Users
- OR the IP address of the user must start with 10.10.50.

After configuration of the conditions, you can click the Enable checkbox and save your changes. At that point the security service will take your configuration into account.
Master Data Condition Sets
When you are going to use the same conditions at a variety of places, you really want to use master data. This way the conditions have to be configured once and can be reused across different parts in the repository.
There are two ways to create master data condition sets:
- By promoting standalone condition sets via the Authorization Policy Control
- By directly configuring master data which is described below
To create and manage master data conditions, open up the configuration tool and go to the applications menu -> master data -> condition sets.

Create a Condition Set
Let's create a condition set to identify users which are a member of the Active Directory group "Developers".
Note
Using Active Directory groups in conditions is only supported for company users which are authenticating themself via the Windows or the Microsoft provider. When using the Microsoft provider, the administrator of the Azure tenant has to give consent to our Ometa Authority Service for consulting the Active Directory memberships. More info can be found on the Windows and Microsoft documentation pages.
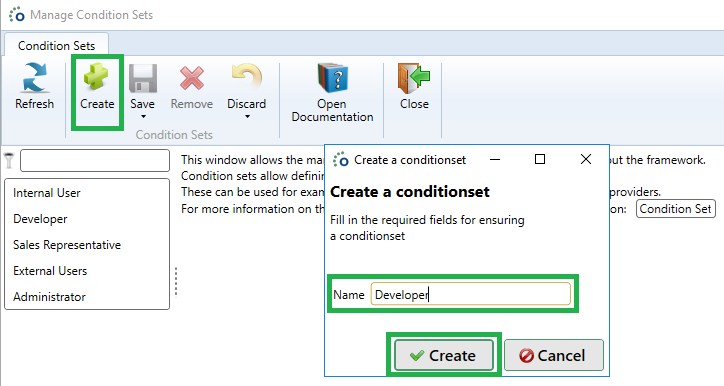
Click on the Create button in the top ribbon, enter a name for your condition set and click Create.

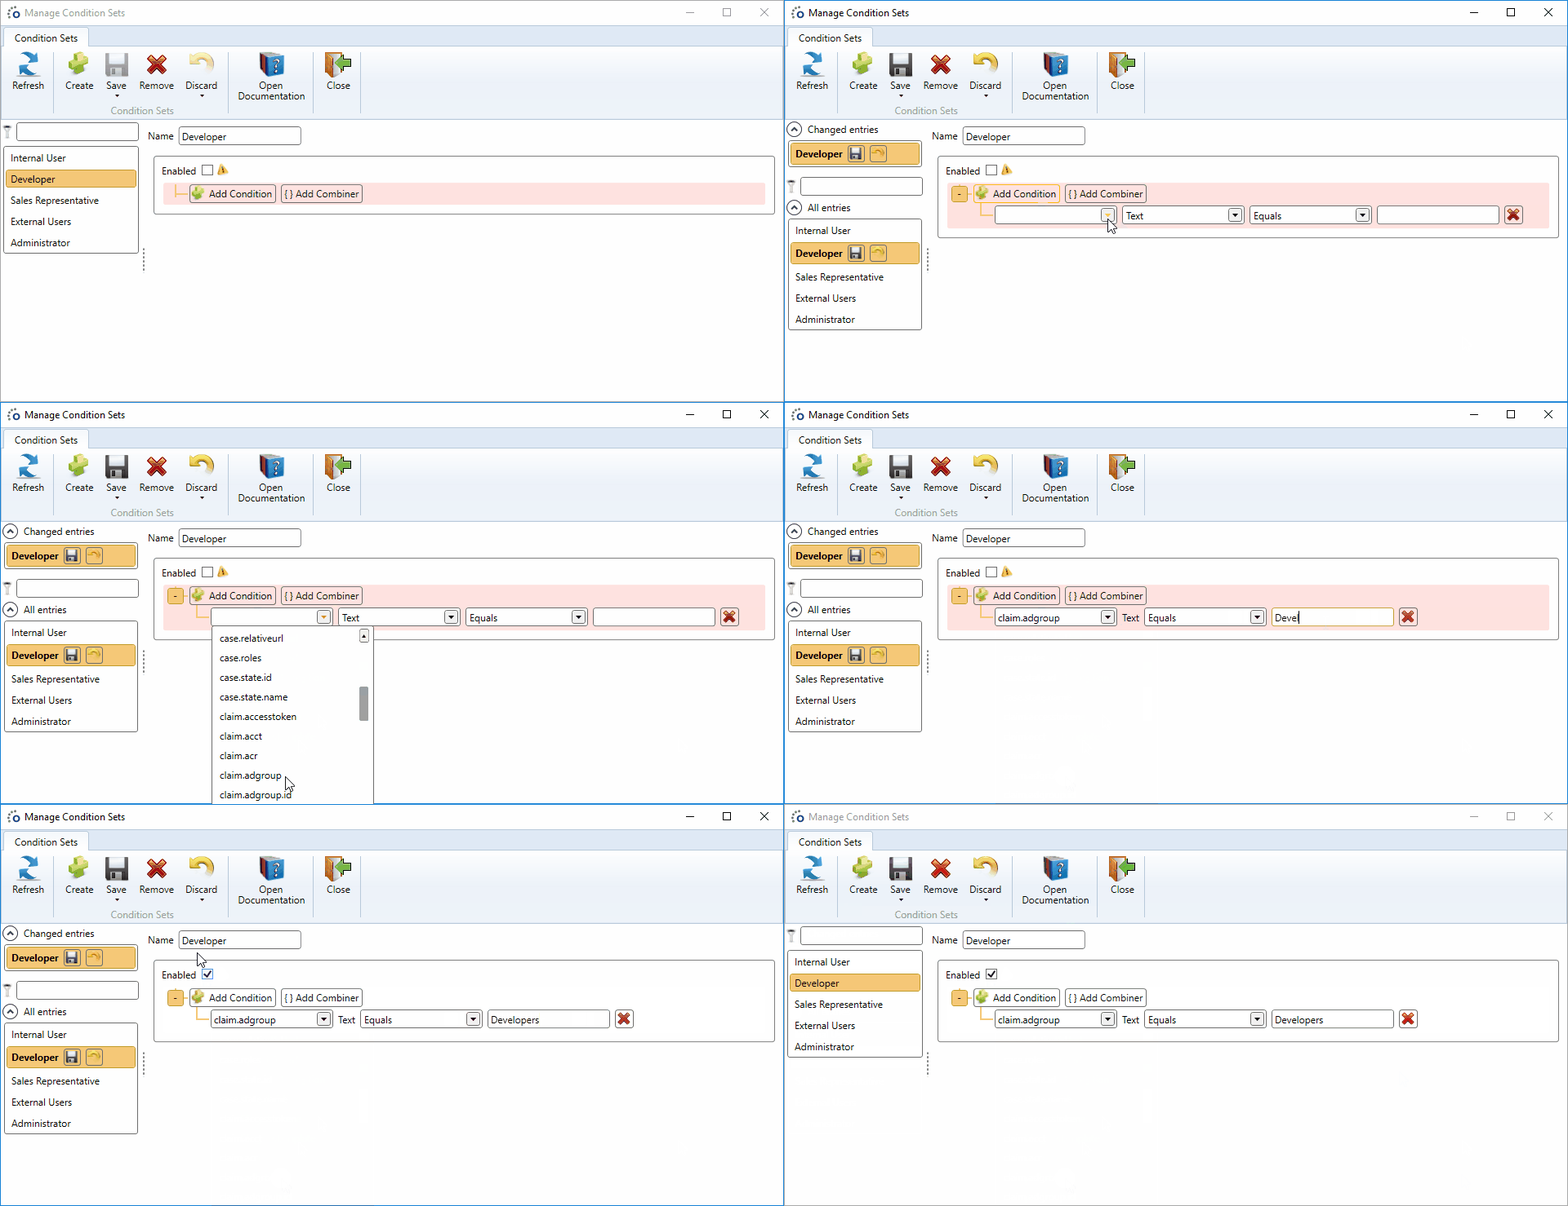
Configure the new condition set by following these steps:
- Click on Add Condition
- Choose the field claim.adgroup in the new condition
- State that this claim must be equal to Developers
- Enable the condition set
- Save

Note
If the user is a member of multiple Active Directory groups, the condition will be checked for each and every one of them until it is succesful. This way it is even possible to configure a condition set stating that the user must be a member of multiple Active Directory groups like this:

Our condition set is now ready to be used in the Ometa Framework.