Translations
Add New Language Support
By default not all languages are supported in ADM. ADM tries to fetch the translation file based on the current browser language. If the translation file cannot be found, the default English translation will be used.
If you want to introduce a new language you have to follow the next steps:
Go to the Ometa Core Service on the Web API Server (IIS).
Go to \assets\adm\assets\i18n\adm or \assets\adm\assets\i18n\charts (same path if you are using SharePoint 2013).
Create a new extend folder if this does not exist.
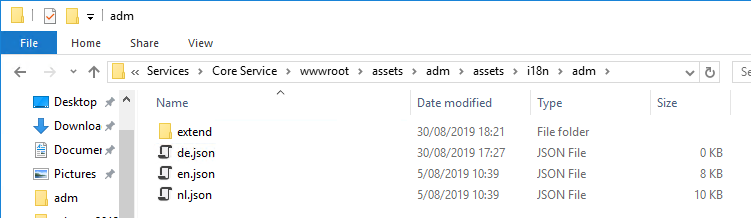
Copy the en.json file, rename it to: [your language].json and copy this file to both the current folder (i18n) and extend folder.
Tip
The easiest way to find the value for your language is by entering the following line of code in the console.
For SPO and SP 2019:obiz.pageContext.cultureInfo.currentUICultureName. For SP 2016 or SP 2013:_spPageContextInfo.currentUICultureName.
Everything after the minus sign will be ignored.
For other systems:navigator.language.Go to the [your language].json in the extend folder and change all the translation values to your language.
Change only the values and do not rename the names between the curly braces:
{{value}}. The curly braces are used to identify a placeholder in the message which will be replaced by an actual runtime value.
Example
The following example describes the introduction of the German language, which does not exist at the moment of writing. A copy of the en.json file is placed in both the current (i18n) and extend folder. The copies are renamed to de.json.
In the console of the web browser you immediately see the correct language code.

{
    "control": {
        "error": {
            "required": "Dieses Feld wird benötigt",
            "invalidItems": "Dieses Feld enthält ungültige Elemente",
            "invalidDate": "{{value}} reicht mit dem Format {{format}} nicht aus.",
            ...
        }
    }
}
Notice that only the values are translated. The values between the {{ curly braces }} are also not translated.
Extend Translations
It is possible to only overwrite certain translations. This is only possible if your language exists in the i18n folder. If your language does not exist you need to introduce a new language. Follow the next steps to only overwrite certain translations:
Go to the Ometa Core Service on the Web API Server (IIS).
Go to \assets\adm\assets\i18n\adm or \assets\adm\assets\i18n\charts (also if you are using SharePoint 2013).
Create a new extend folder if this does not exist.
Create a new [your language].json in the extend folder.
Add the keys which you want to translate.
Example
In the following example some keys of the "Export To Excel functionality" are overwritten.
{
    "export": {
        "csv": "CSV",
        "csvMessage": "Click the CSV button to download a comma separated file (not recommended).",
        "excel": "Excel",
        "excelMessage": "Click the Excel button to download an Excel file.",
        "title": "Export to Excel or CSV"
    },
    "grid": {
		"export": {
			"progress": "Please wait while were are exporting your file ...",
			"success": "Export completed."
		}
    }
}
CSL Translate
When using CSL to retrieve custom translations, follow the naming conventions. This ensures that the keys created are not overwriting any existing or future translation keys.