Object Manager
The object manager is a new user interface that we are working on. It is a part of the obiz-suite that exists in our core service. The user can use the object manager by navigating to "Core Service Url/obiz-suite/bc/object-manager".
The object manager consists of 3 parts:
- Object List
- View List
- Responsive Forms
Object List
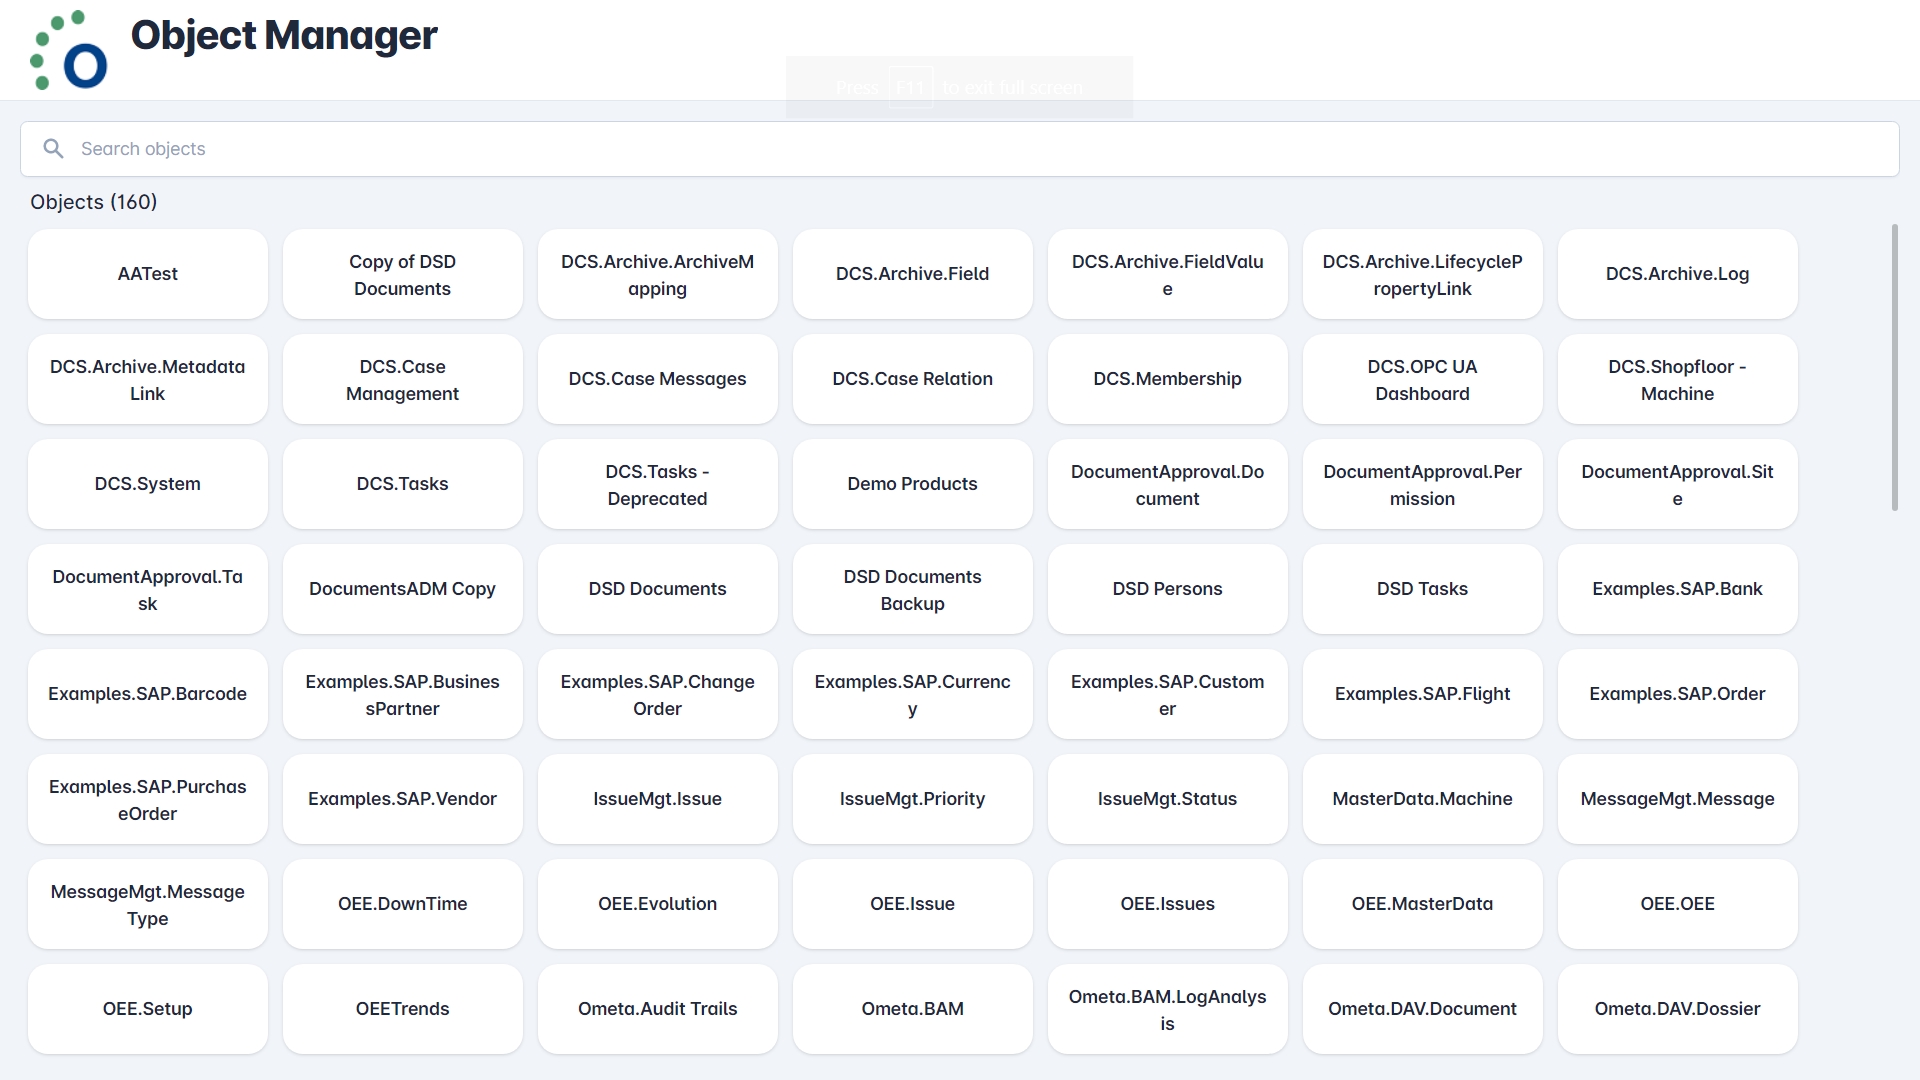
The Object List shows us a list of all our objects in tiles. Clicking on an object navigates to the View List.
View List
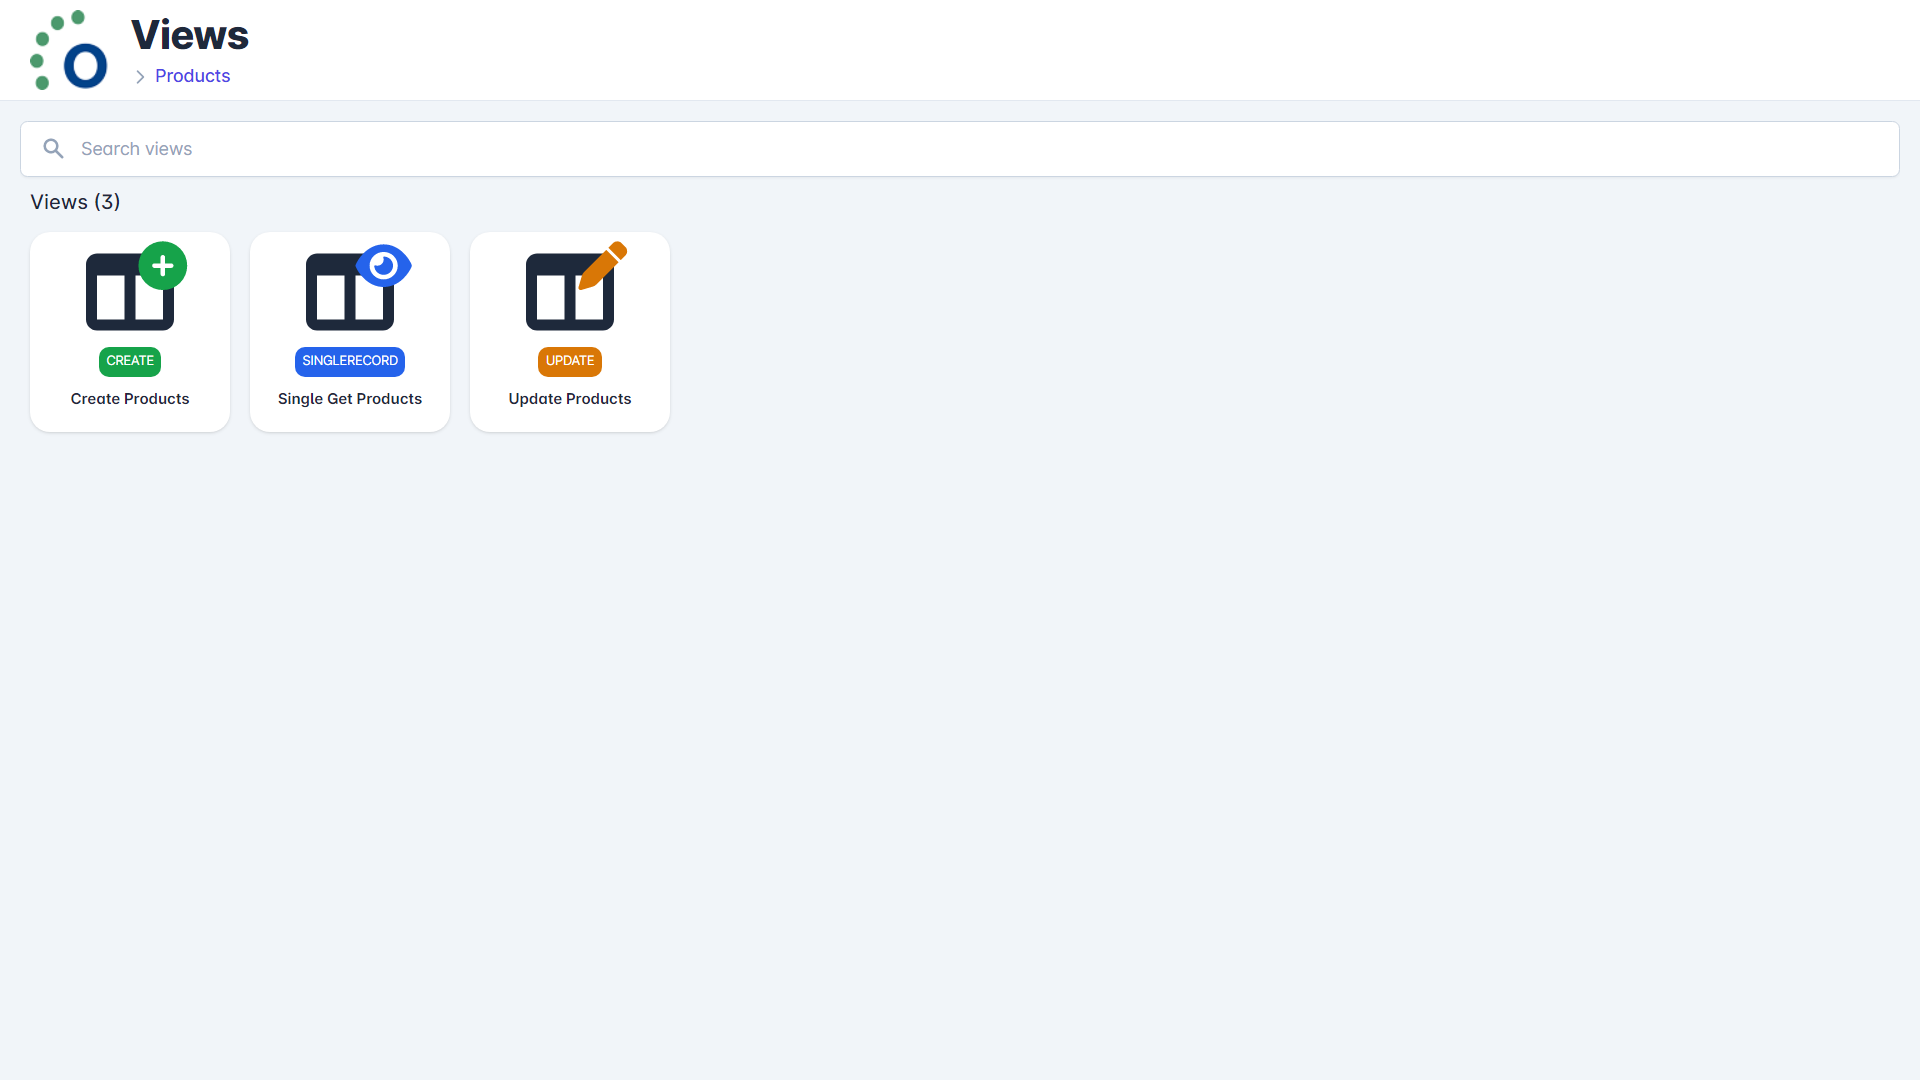
The View List shows us a list of all our views in an object. Only Create, Single Record and Update views can be seen as clicking to a view navigates us to the Responsive Forms page of this view. Responsive Forms cannot be set up for Multi Record Views.
Responsive Forms
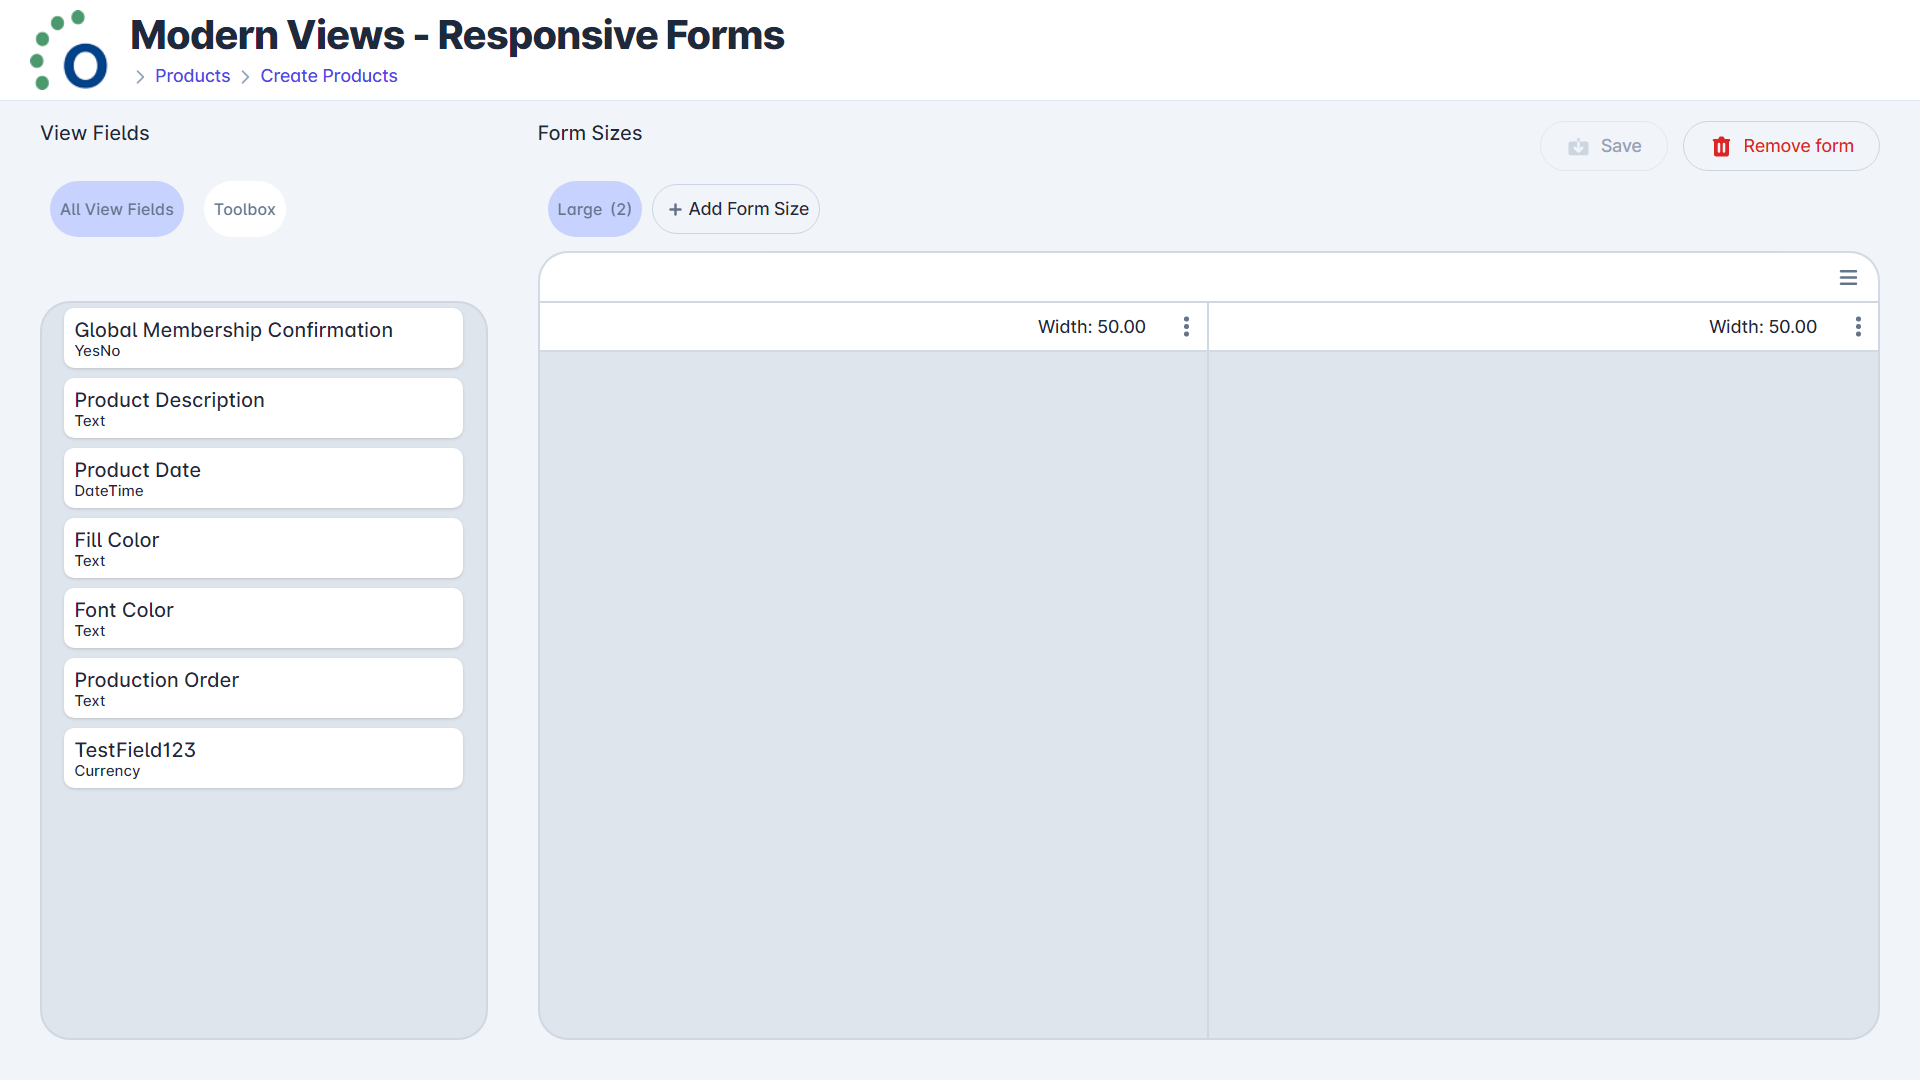
The Responsive Forms of our View allows us to set up different forms for different screen sizes. This means moving the View Fields across multiple columns that the user can create without any CSL.
Note
Using the Responsive Forms together with CSL custom layouting CSL.view.createViewFieldGroup is not supported.
Form Sizes
The user can set up forms with up to 3 columns for extra small and up to 4 columns for everything else. The form sizes include:
- Extra small devices (portrait phones, less than 599.98px)
- Small devices (landscape phones, 600px and up to 959.98px)
- Medium devices (tablets, 960px and up to 1279.98px)
- Large devices (desktops, 1280px and up to 1919.98px)
- Extra large devices (large desktops, 1280px and up)

The form sizes are important because they will determine which of the forms are going to be used automatically based on the screen size. Changing the window size will also determine the form that is going to be shown. The user can also decide to use one form across multiple screen sizes. This means that the largest form created by the user is going to end up being used on the bigger screen sizes.
Created Form and example in ADM
The View Fields can be added by dragging them onto a column. Toolbox elements like headers are added the same way. To remove a View Field or a Toolbox element from the column, the user has to drag them back to the View Fields List on the left.
Note
To save our form, Create and Update views require every View Field to be used in every form size. Single Record views don't have this necessity.
Here is a form that we have set up with 3 columns, 3 headers and the View Fields spread across the columns.
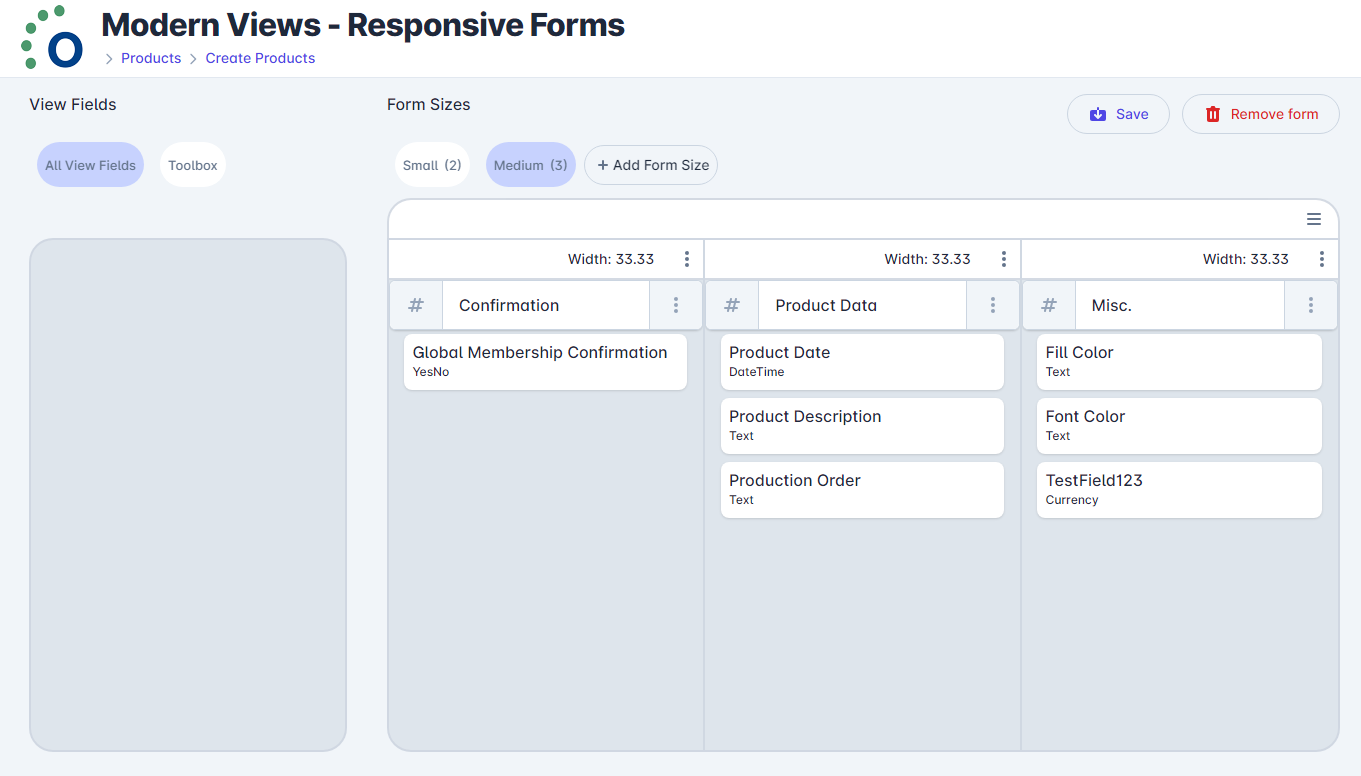
This is how this form we just created looks like in ADM.

Form Actions
Adding a Form Size
To add a new Form Size to the form, the user has to click on the add form size button.

A popup will show up on screen that allows you to change the screen size and the column size of this form.

Deleting a form size
To Delete a form size, the user has to open the drawer first by clicking the following button.
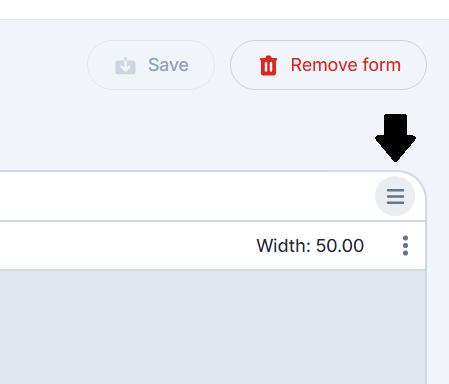
The user can then delete the form size by clicking the delete form size button.

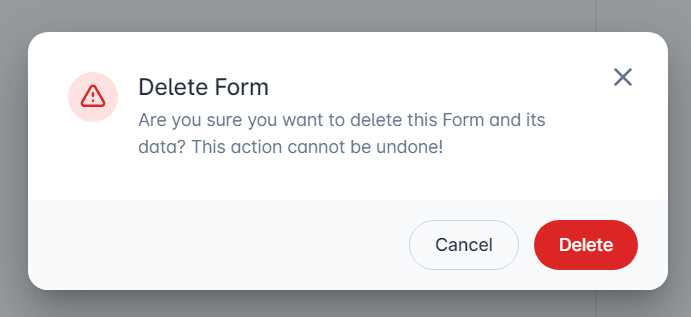
A popup will follow up stating that your actions cannot be undone. This is true unless you exit the responsive forms page without saving, but that means that you will lose any other changes that you haven't saved yet.

Adding and Deleting a Column
By clicking on the column settings icon (The 3 dots), the user can add or remove a column. Removing a column will move all the View Fields in that column back to the available View Fields list. Toolbox elements such as Headers will be lost.
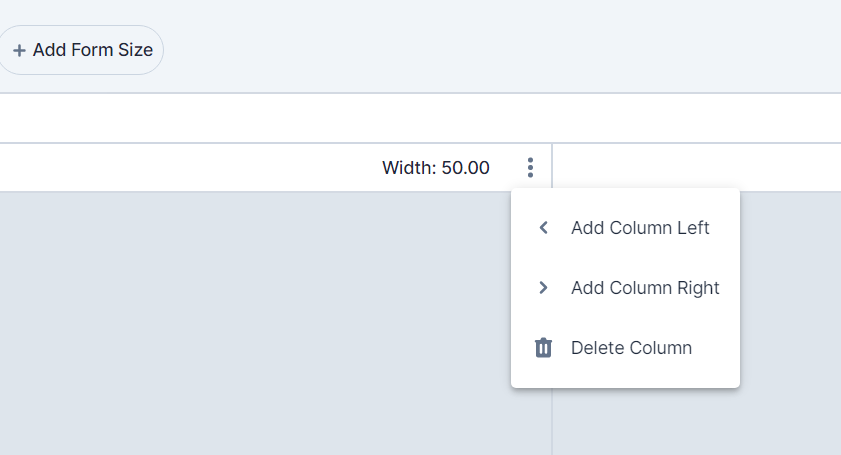
Note
You cannot add more than 3 columns in an Extra Small Form and 4 columns for every other Form Size.
Deleting a Form
The Responsive Form can be deleted to start all over again. This action is also necessary if the user wants to go back to using standard non responsive forms. This can be done by clicking on the remove form button at the right side of the page.
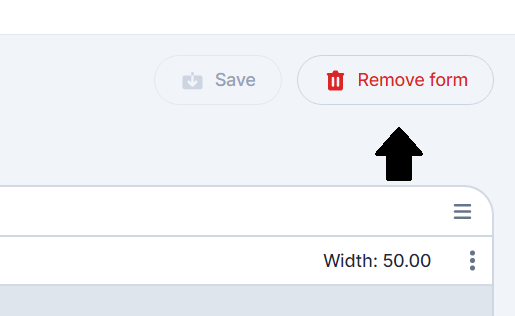
The app will navigate back to the View List after removing a Form. This action cannot be undone. This time we mean it.
Upcoming Features
Responsive Forms
We are working on adding Nested Forms to Responsive Forms. This means that the user will be able to create multiple columns inside columns. Stay tuned!