Exporting Framework Items
Creating the export archive is done via the Export Wizard. This guide provides an overview on how to use this wizard to create an export archive.
Starting the Export Wizard
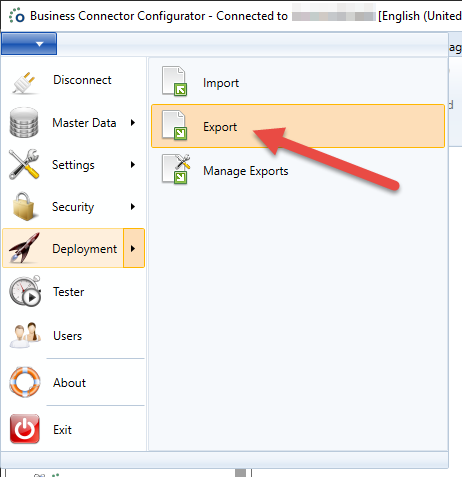
Starting the wizard is very simple, it can be started directly from the application menu:
- Open the Application Menu.
- Go to the Deployment item.
- And click on Export.
The Export Wizard checks for each page whether any selection has been made before allowing the user to advance to the next page. Every page also shows a Back button to allow going back to the previous step when needed.
Type Selection
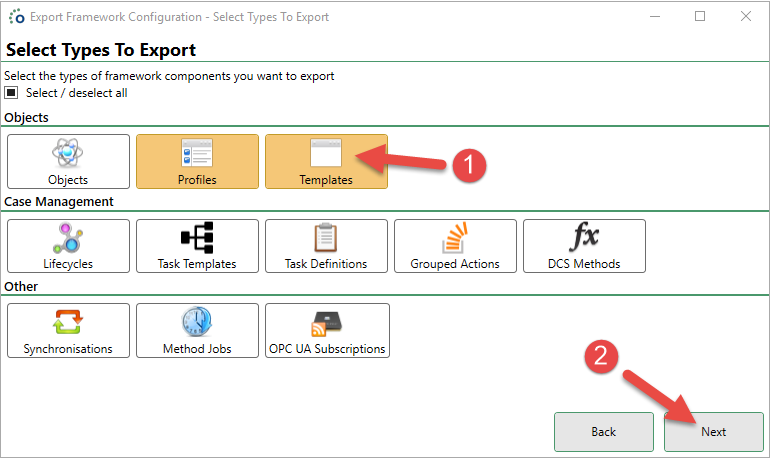
As the Framework contains many different data items and definitions, the Export Wizard has several ways to limit the number of available choices to make and export only the required items. The order of the types is specifically chosen to indicate the dependency relations between all types. Types that are listed later in the list will have lesser dependencies than those appearing in the beginning.
The Framework Type Selection page (see the screenshot) is the first one where a user can choose only a particular set of items to export. In the example, the Templates type is selected meaning that initially the export will be limited to templates.
Note
Please keep in mind that due to dependencies between different types and available Framework items, it may happen that the Export Wizard will add additional types of content that was not included in this page. The added dependencies will each time be shown on the page that required it as well as in the full summary at the end of the wizard.
Item Selection Pages
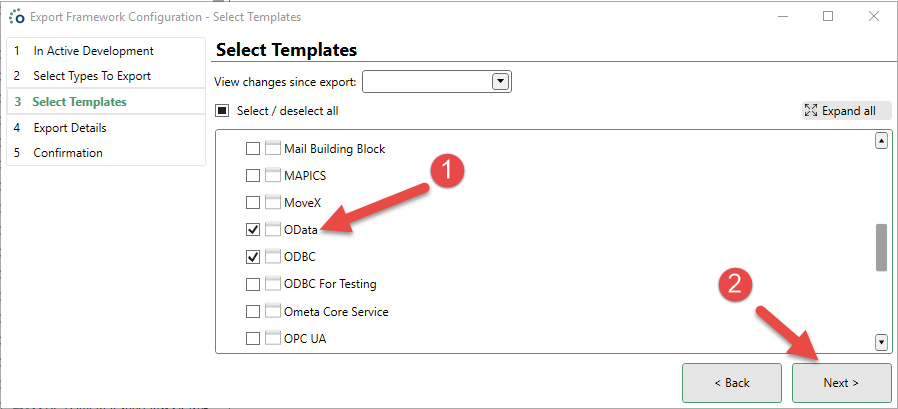
The next page or pages allow the selection of the items to export.
In the screenshot of the example, you can see that any item of available templates can be chosen. Only after making a selection, the Next button is enabled.
Important
It is possible that some items are already preselected on an item page to satisfy dependency requirements. Unchecking a preselected item will result in the original item to also be excluded, a dialog with the items that have a dependency to the item will be shown to confirm. See the Overview of Required Dependencies section in the dependency management article for more information.
Comparing with previous exports
The dropdown at the top of the page allows you to compare the current framework items with the items that were previously exported. This allows you to see what has changed since the selected previous export.
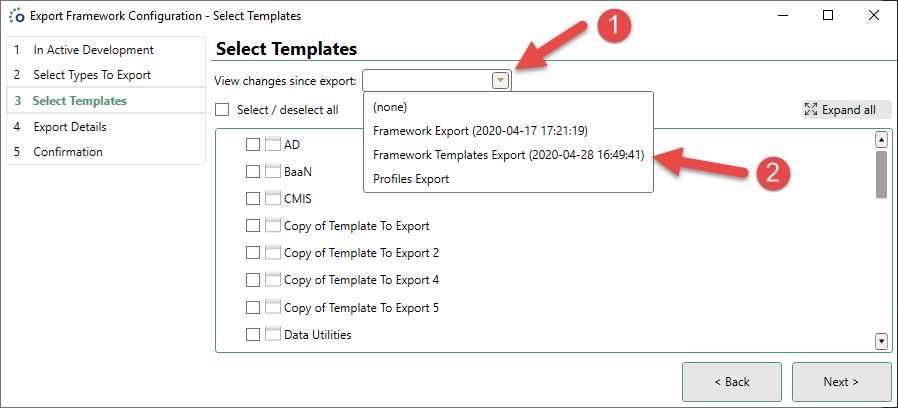
After selecting an export, some icons will appear behind the item to indicate its state compared to the selected previous export.
Note
Previous exports can be hidden from this list through the Manage Previous Exports window available in the application menu.
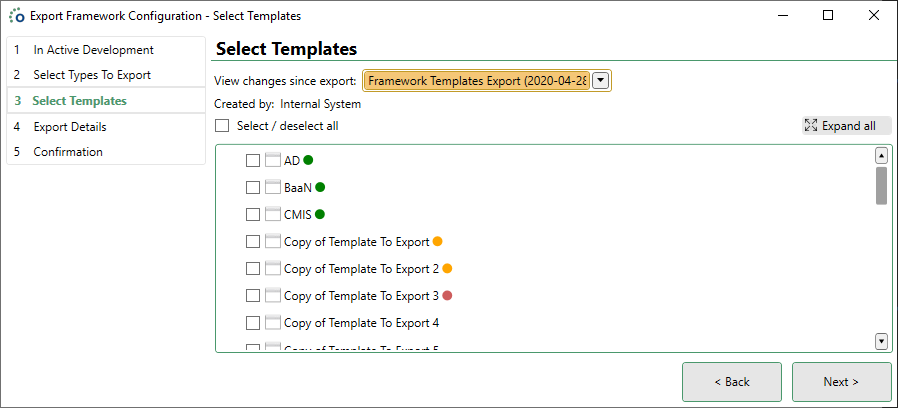
The icons behind the items indicate the following states:
| Icon | State |
|---|---|
| Green | The item is not present in the previous export. |
| Orange | The item is present in the previous export, but was changed. |
| Red | The item is present in the previous export, but has since been deleted on the current framework. |
| None | The item is present in the previous export and is unchanged. |
Archive Export Details
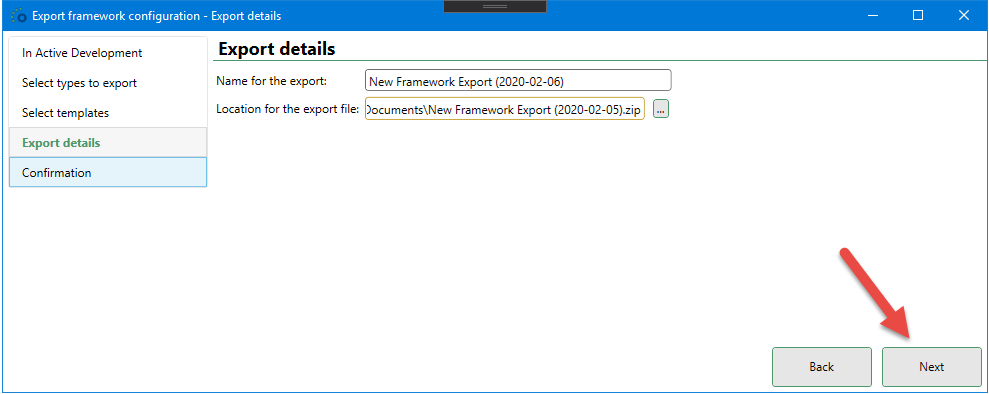
After selecting all the items to export, a page with all export archive details is shown. On this page, both the export name (for later reference) and the archive file name has to be filled in.
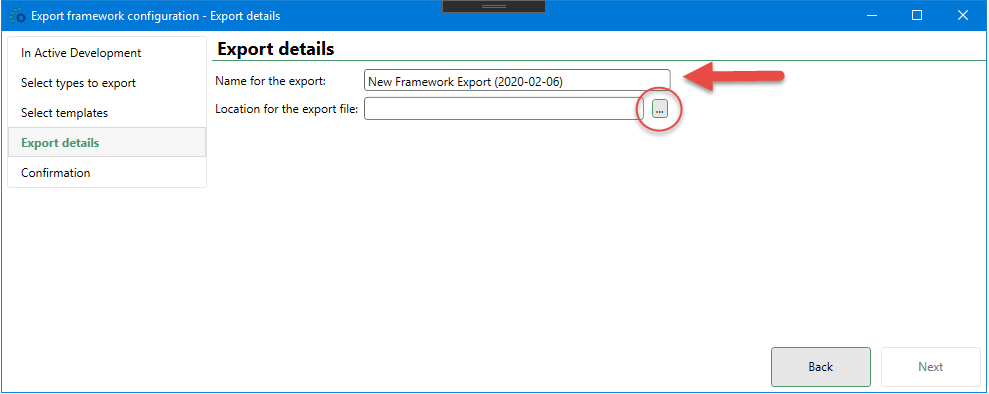
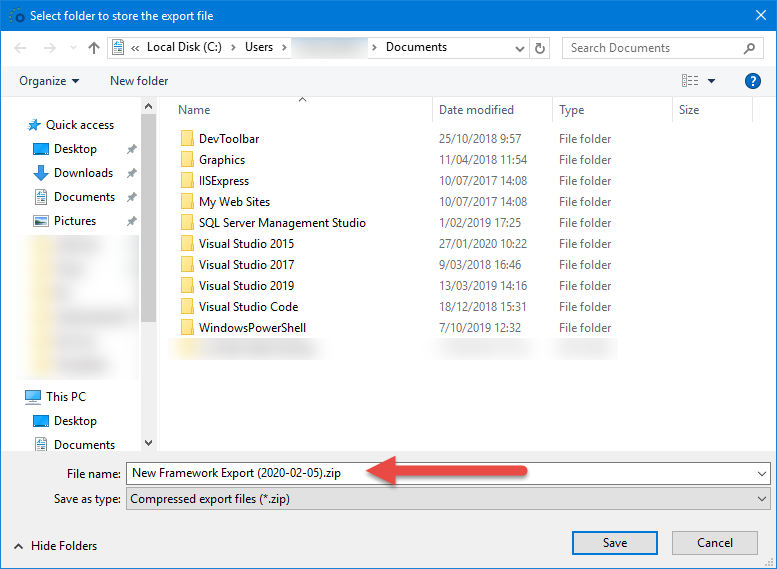
Providing the archive file name is simple: just click on the button with the 3 dots and a Save As dialog is displayed. Every archive name ends in the ZIP extension.
When both export name and archive name are presented, one can continue to the final page of the wizard by clicking on Next.
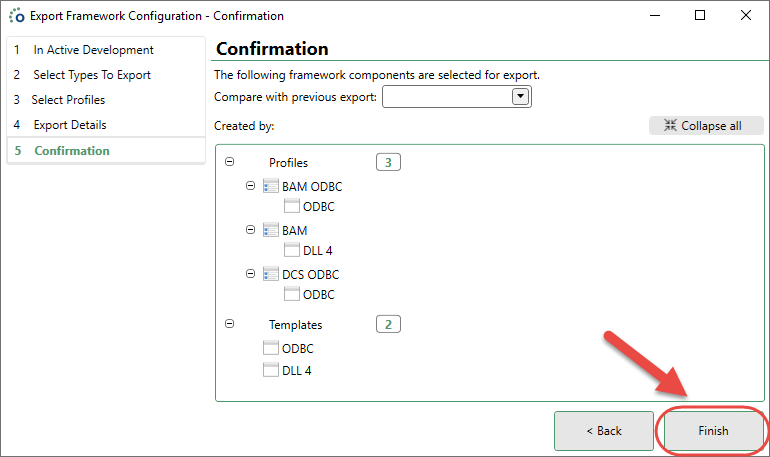
Export Confirmation
The last page of the Export Wizard provides an overview of all selected items and their dependencies for export. This way a user can make a final check before the real export starts.
When everything is fine, click the Finish button to create the export archive.
The export will then validate the selected contents to ensure all configuration is valid. If any content is not valid, a warning message will pop up.
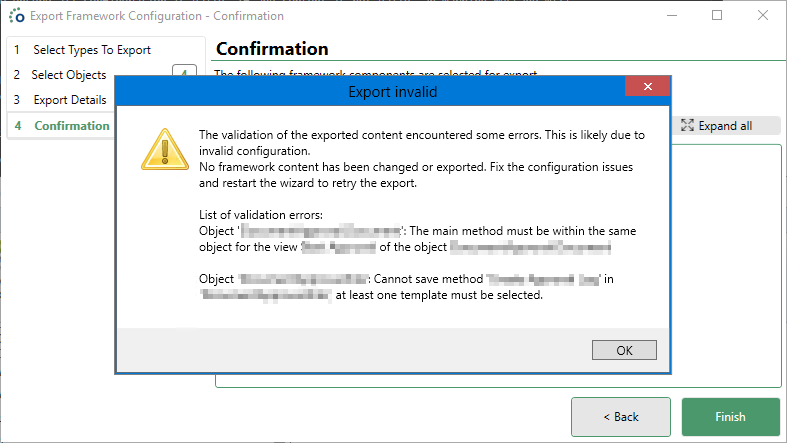
This can be resolved by excluding the invalid configuration from the export, or fixing the configuration in the framework and then restarting the wizard.
Export Completed
After creation of the export archive, a final dialog box is displayed with the full path of the archive. At the same time a copy of the export is saved in the Ometa Framework database for reference during later exports.
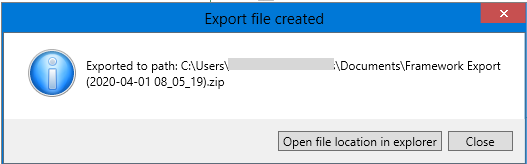
Click OK to close the dialog and the Export Wizard, to complete the export process.